
Not for long! Take a look at what Chad did to complete the project.
Chad started removing the baseboards and chair rail molding when I wasn't home. I was so glad that he started, but had to remind him that you always take a before picture first!

Then the crown molding came down carefully so we could replace it on the front of the bookcases.


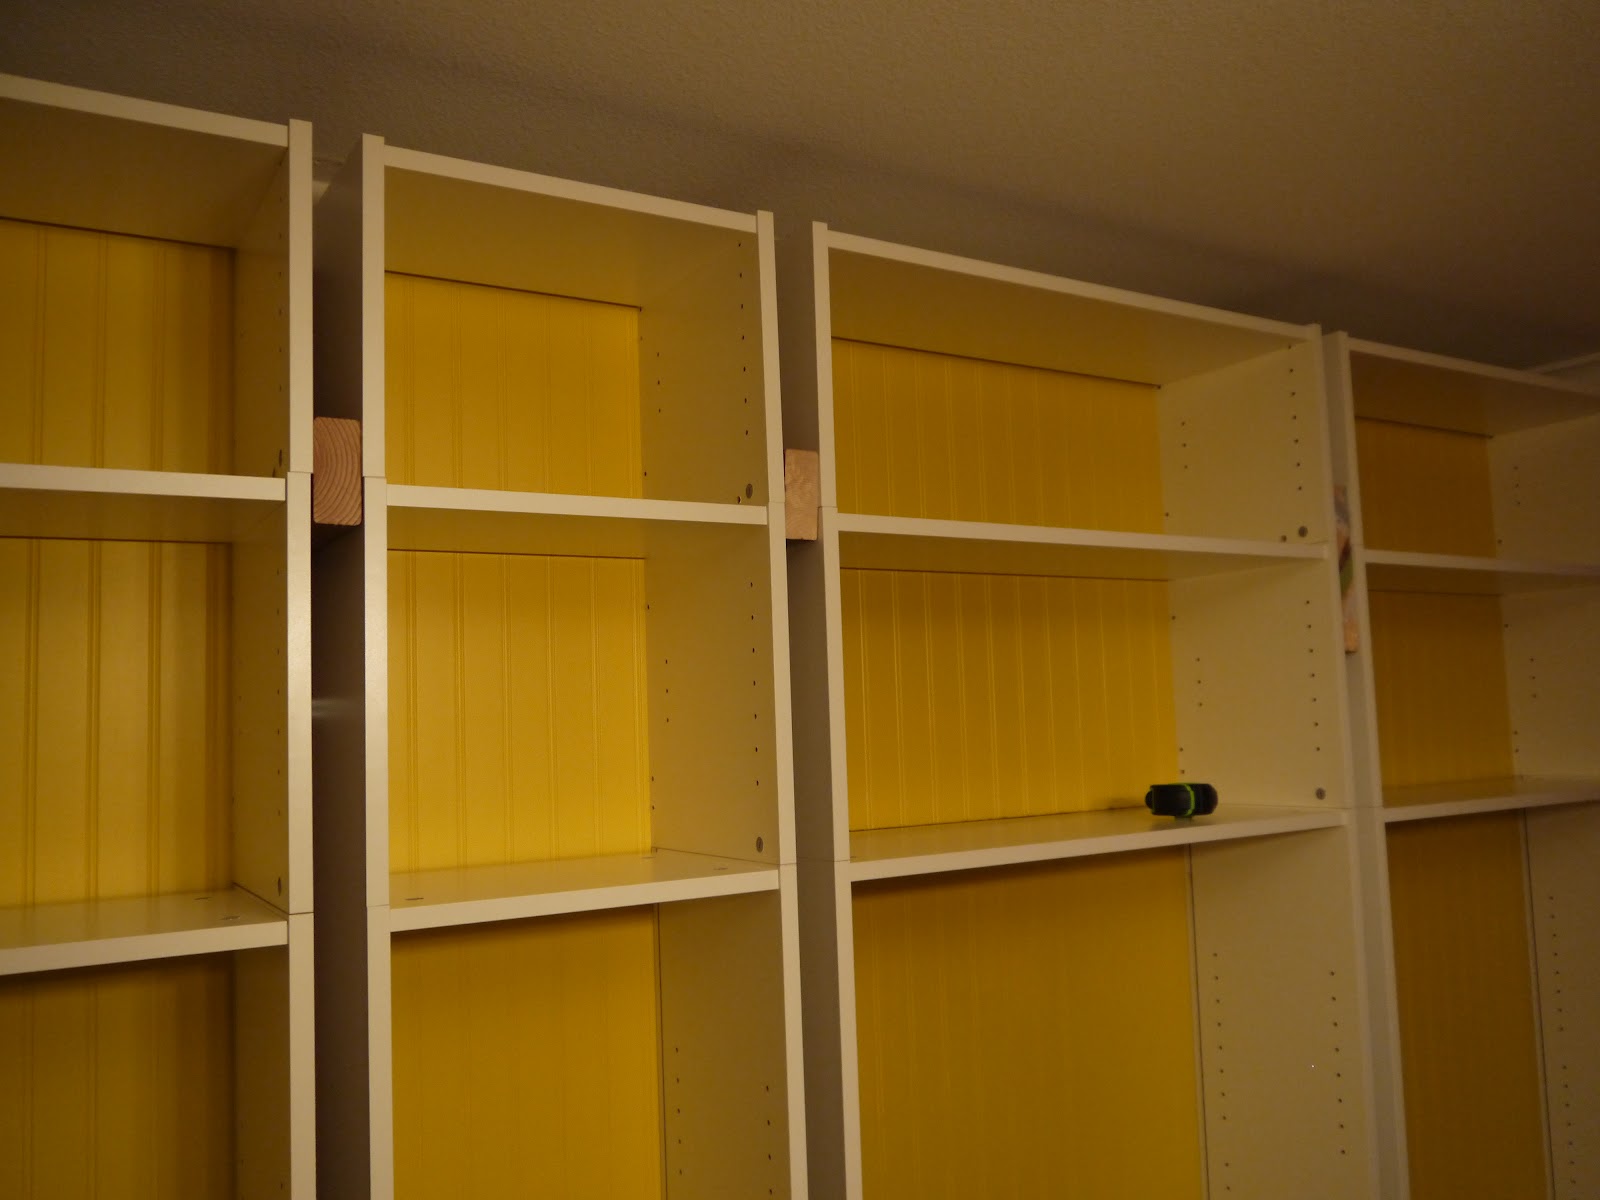
Next, we had Ella paint all of the bead board. We didn't want the plain backing that came with the shelves. We thought an entire wall of bead board would make a statement. I luv me some bead board!
Oh, Dad and I helped Ella with the painting :)


As you can see, we left the box molding along the back wall. We did so for two reasons: 1. We could still push the bookcases flat to the wall. We knew we were going to secure the bookcases directly to the wall anyway and 2. If this built in needed to be removed, the molding will still be there.

Chad then took this handy dandy machine and secured the bead board to the backs of the bookcases...

...like this.

And this.

Here are the bookcases with the bead board.


Chad and Dad then secured each bookcase to the wall using L-brackets.

Like so.

This helped ensure that each bookcase was level. Then they secured each bookcase to one another with blocks of wood.

Like this.
And this.

Chad then nailed the crown molding (that he carefully removed) back into place.

To hide the gaps between each bookcase we found primed trim at Lowes.

The trim was too thick so Chad cut it in half using Dad's shop smith. Two pieces of trim became four - perfect!

The trim was nailed to the front of each bookcase.

Now Chad had to add the doors we bought at IKEA. Because we added the trim to the bookcases, Chad had to notch out a section for the doors to attach. Made me a little nervous, but he told me this would work.


It worked and the doors were attached.

It became the perfect hiding spot for Caleb.

And the girls!


Chad cut down smaller trim.

And added it along the bottom of each shelf. Problem solved!

There was also a small gap where the baseboard met the bottom shelf.

Chad cut dowel rods and nailed them in place. Caulk was then added and once it was painted, you can't even tell.

He also added dowel rods to the top where the crown molding met the top of the bookcase.

The entire built in was caulked along all edges. Chad then sanded the trim so a final coat (or three) of paint could be added.

Hand sanding took too long so he used his real sander and I followed along with the vacuum so dust wouldn't get everywhere. It still did, but not as much.


Look a picture - with me in it!

Chad then measured and added pulls (handles?) to the doors.


And viola - we are finished!


I'm impressed you know all the lingo, like bead board and L-brackets. You're getting to be a real pro at this. Nice job! And it's nice to see a picture of you for a change!
ReplyDeleteI agree with Ericka--so nice to see you "Pictured". Chad did a great job with the Wall O Bookshelves. He must be thrilled at what you find on Blogs to create in your own home. Can't wait to see them decorated. Have you had any luck finding a table and chairs you like??
ReplyDeleteEverything is so nice. I love that you do so many projects together...and you are really good at them!!! Your hair is soooo long!!!! :) :)
ReplyDeleteI am growing it out so I can donate it to Locks of Love:)
DeleteWow, So Beautiful & Pretty.Thanks For Sharing.
ReplyDeletefloating shelves pattern
Write a warm, appreciative comment thanking the blog author for their insights on interior design enhancements. Highlight how chair rail molding elevates a room’s aesthetic and protects walls, referencing a specific point from the post, such as its versatility in traditional or modern decor. Express gratitude for practical tips, like installation techniques or material choices, and share enthusiasm for how chair rail molding adds elegance to homes. Ask a relevant question, such as how to choose the best molding style for small spaces, to foster engagement and reinforce the keyword’s value.
ReplyDelete